首先nginx容器内部的结构:
进入容器:
docker exec -it b511b6049f57 bash
查看容器的结构目录:其实每一个容器就相当于一个独立的系统。
root@b511b6049f57:/# ls
bin  dev home lib64	mnt proc run	 srv tmp var
boot etc lib	 media	opt root sbin sys usr
nginx的结构目录在容器中:
- 日志位置:/var/log/nginx/
- 配置文件位置:/etc/nginx/
- 项目位置:/usr/share/nginx/html
如果你想在本地去添加location 需要把这些容器中的配置挂载到本地:
配置文件相对来说有点麻烦,一般nginx只需要加载nginx.conf就可以了,在dokcer中,是首先加载nginx.conf,然后在nginx.conf有这么一行include /etc/nginx/conf.d/*.conf;,就是加载conf.d目录下的配置文件。所以对于配置只需要挂载到conf.d,覆盖掉即可。
在本地创建对应的文件夹和主配置文件nginx.conf:
mkdir -p /home/test/nginx/{log,conf,html}
touch nginx.conf
nginx.conf包含子配置文件(最后一行):
user nginx;

worker_processes 1;

error_log /var/log/nginx/error.log warn;
pid    /var/run/nginx.pid;


events {
  worker_connections 1024;
}


http {
  include    /etc/nginx/mime.types;
  default_type application/octet-stream;

  log_format main  '"$remote_addr" "$http_host" "[$time_local]" "$request" "$status" "$body_bytes_sent" '
          '"$bytes_sent" "$gzip_ratio" "$http_referer" "$http_user_agent" "$http_x_forwarded_for" '
          '"$upstream_addr" "$upstream_response_time" "$request_time" "$request_body" "$http_authorization" ';
  access_log /var/log/nginx/access.log main;

  sendfile    on;
  #tcp_nopush   on;

  keepalive_timeout 65;

  #gzip on;

  include /etc/nginx/conf.d/*.conf;
}
在 conf下创建一个默认的default.conf:
server {
listen 80;
server_name localhost;
#charset koi8-r;
access_log /var/log/nginx/log/host.access.log main;
location / {
#root /data/nginx/html;
root /usr/share/nginx/html;
index index.html index.htm;
#autoindex on;
#try_files $uri /index/index/page.html;
#try_files $uri /index/map/page.html;
}
#error_page 404 /404.html;
# redirect server error pages to the static page /50x.html
#
error_page 500 502 503 504 /50x.html;
location = /50x.html {
root /usr/share/nginx/html;
}
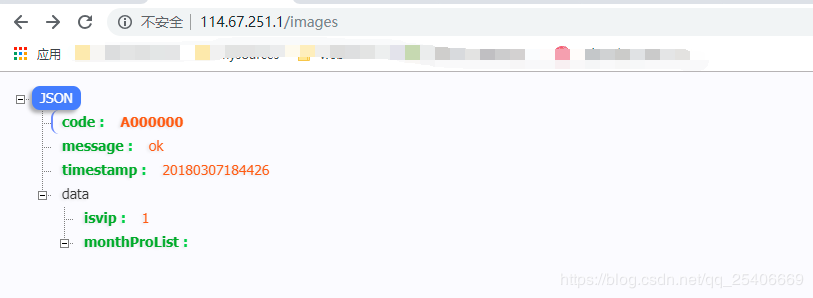
location ~ /images {
default_type application/json;
return 200 '{"code": "A000000", "message": "ok", "timestamp": "20180307184426", "data": {"isvip": "1", "monthProList": []}}';
}
# proxy the PHP scripts to Apache listening on 127.0.0.1:80
#
#location ~ \.php$ {
# proxy_pass http://127.0.0.1;
#}
# pass the PHP scripts to FastCGI server listening on 127.0.0.1:9000
#
#location ~ \.php$ {
# root html;
# fastcgi_pass 127.0.0.1:9000;
# fastcgi_index index.php;
# fastcgi_param SCRIPT_FILENAME /scripts$fastcgi_script_name;
# include fastcgi_params;
#}
# deny access to .htaccess files, if Apache's document root
# concurs with nginx's one
#
#location ~ /\.ht {
# deny all;
#}
}
准备完成上面的本地文件以后开始启动容器挂载到本地相关配置文件:
docker run --name docker_nginx -d -p 80:80 \

-v /home/test/nginx/log:/var/log/nginx \

-v /home/test/nginx/conf:/etc/nginx/conf.d \

-v /home/test/nginx/nginx.conf:/etc/nginx/nginx.conf \

-v /home/test/nginx/html:/usr/share/nginx/html nginx

###
  第一个-v:挂载日志目录
  第二个-v:挂载配置目录
  第三个-v:挂载主配置文件
  第四个-v:挂载项目目录
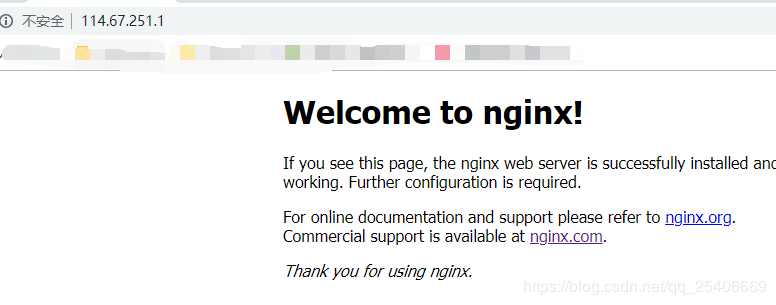
挂载完成以后访问主页面:
然后在访问我们之前在default写的一个location /images:
重启nginx:
docker exec -it b511b6049f57 nginx -s reload
到此这篇关于详解docker nginx 容器启动挂载到本地的文章就介绍到这了,更多相关docker nginx启动挂载内容请搜索脚本之家以前的文章或继续浏览下面的相关文章希望大家以后多多支持脚本之家!